The Marvel Logo

I created the Marvel Logo using a combination of Cinema 4D and After Effects. My idea was to have a giant amount of Lego bricks pouring past the camera, in a similar way to how the pages flip past in the original version of the logo.

I first imported the traditional 2×4 Lego block into Cinema 4D. Next, I created an emitter with the same width as the camera. Next, I applied a rigid body tag to the brick (and a red material) and placed it under the emitter. I then changed the lifetime of the bricks to cause the bricks to be destroyed immediately after passing by the camera. The next step was to greatly increase the number of bricks passing by the camera.

After rendering this out, I removed the red from the Marvel logo and placed it over top of the falling bricks, and made it fade in by keyframing its transparency.

Mystique Crying

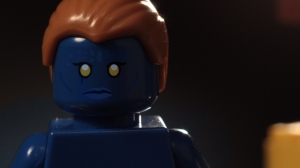
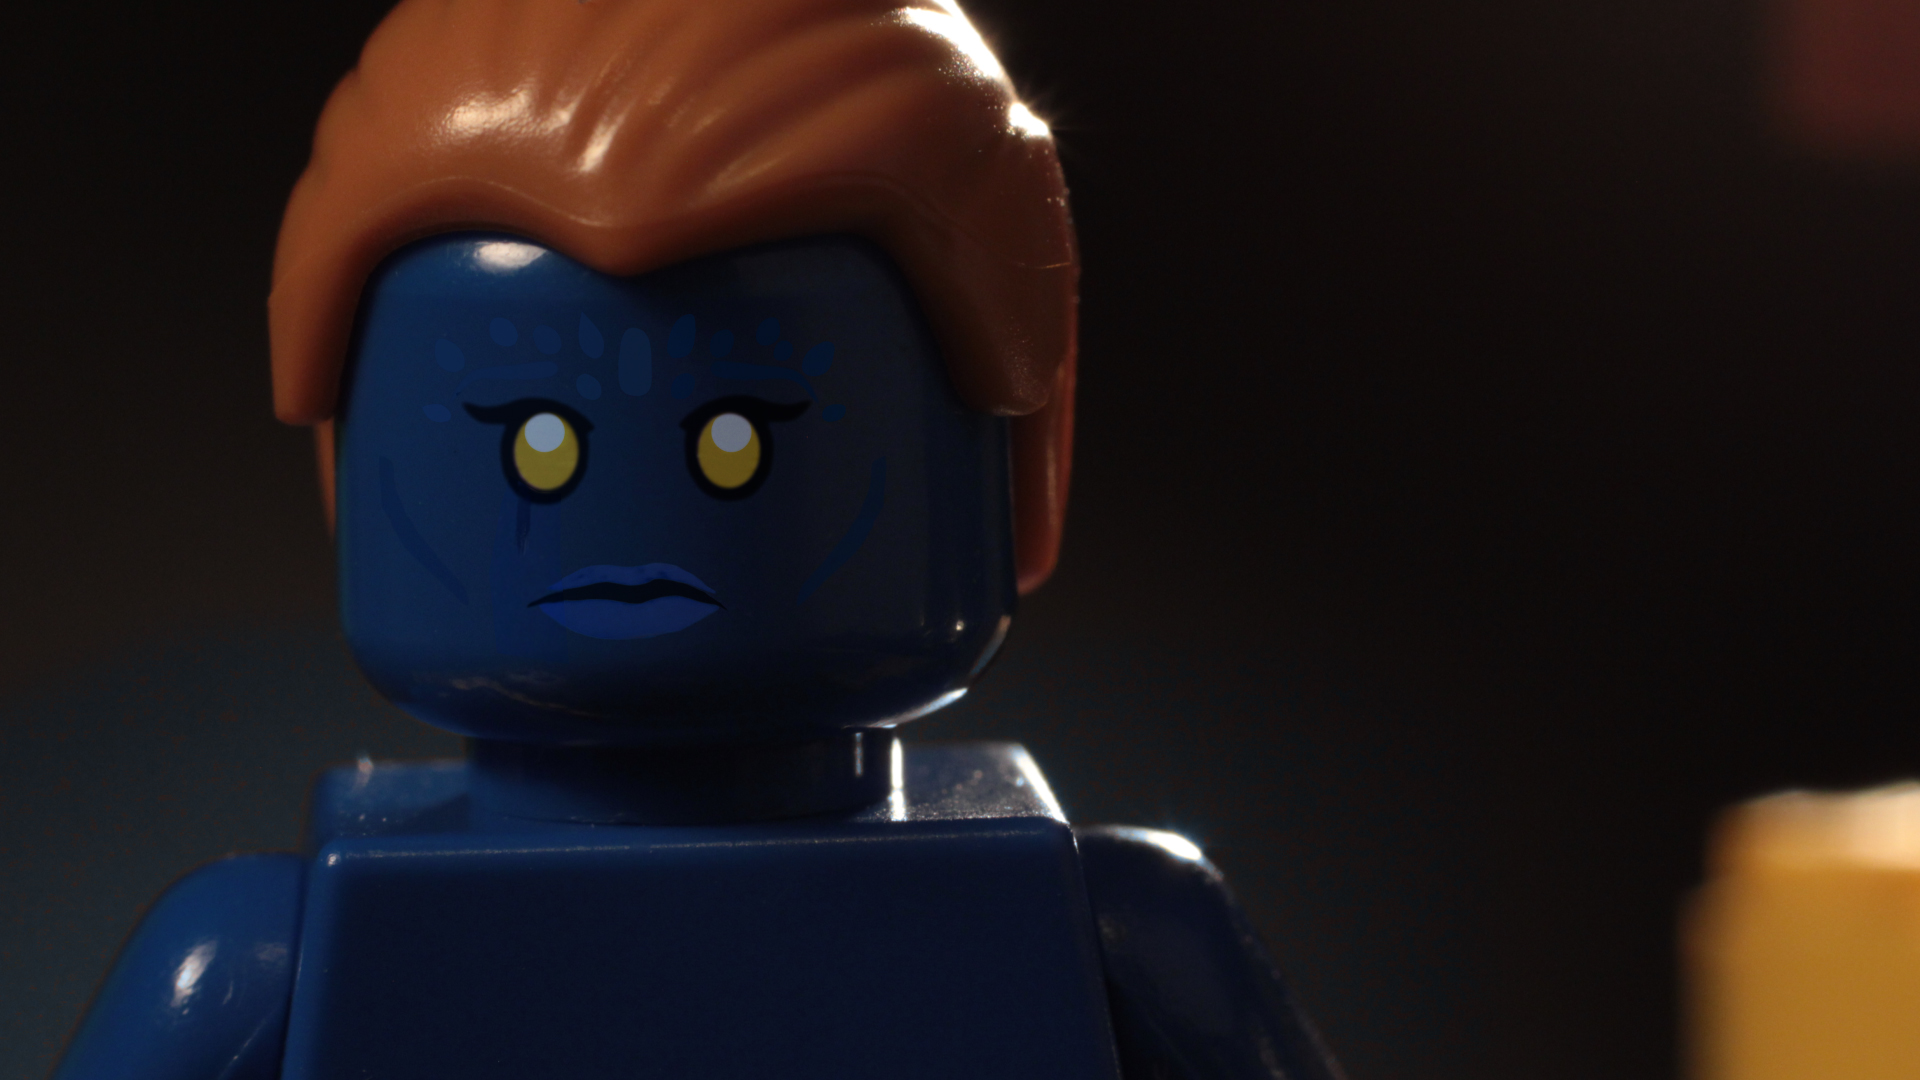
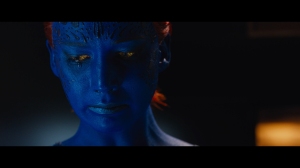
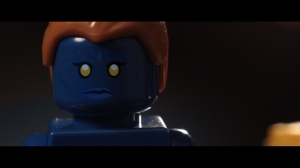
For the part of the trailer where Mystique cries, I wanted to use RealFlow to add realism:

I'm Blue_1

To do this, I first created a texture in Cinema 4D with Lego Mystique’s face from the shot:

I'm Blue

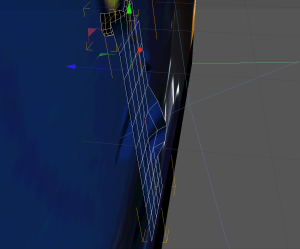
Next, I positioned a camera directly in front of a flat plane, with the dimensions of the image. Next, I applied the texture to the plane and turned on Frontal projection, so that the image was mapped based on the position of the camera. Next, I added on a hemisphere where the lower eyelid was, to collect any water that went to to the wrong side, as well as an angled plane, morphed to match the approximate shape of the face:

Screen Shot 2014-04-08 at 7.58.12 PM

I then baked these two objects to keep the textures mapped, even if the camera is moved around. To do this, I first selected both textures and objects, right clicked and selected “generate UVW coordinates.” Next, I selected “bake object” under the Objects menu. I changed the size of the textures to 1024×1024 and pressed Bake.

The next step was bringing it into RealFlow. To do this, I used the export .sd part of the RealFlow plugin for Cinema 4D.

After importing the .sd into RealFlow, for the “cheek” object, I turned on the texture and turned on wet maps for the object. To make sure that the wet maps exported, I then selected “export all” from the Export menu.

Next, I created an emitter positioned above and between the eyelid and the cheek. I increased the emitter’s surface tension to prevent the liquid from breaking apart too much. I also increased the cheek’s friction, roughness, and stickiness and decreased the bounce. After a bit more fiddling around with the emitter’s surface tension, I was able to get a look that I was pretty happy with. I generated a RenderKit Particle Mesh and headed back into Cinema 4D.

I first used the RealFlow Mesh Importer to bring in the mesh. I then found out which material was applied to the cheek object and opened it. Under the colour panel, I changed the picker from the image to “layer.” The image was kept, but I could add a new layer. I imported the first wet map from the “Images” folder of the RealFlow project. Next, I selected the animation tab at the top of the panel. under this tab, I selected “calculate.” This turned the frames into an animation. Back in the layers area, I changed the wet map texture from “normal” to “subtract.” Finally, I rendered out the section around the eye where the tear rolled down and brought it into After Effects to composite:

I'm Blue_2

Storm and Lightning

For the two shots with Storm that required lightning, I used Adobe After Effects to add in the lightning effect. For the actual lightning portion, I used an Effect called “Advanced Lightning.”

Here is the original shot:

Storm Lightning_2Storm Lightning_2


To use this, I first created a new black layer. I then dragged on the “Advanced Lightning” tool. I then set the lightning type to “Strike.” this allows you to both control the origin point, but also the endpoint, specified by “direction.” Next, I keyframed both direction and origin, allowing me to control their position from frame to frame. I then hid my Lego layer, so that I could view which frames contained lightning and where it was positioned. Next, I matched up the lightning as best as I could. Once I was done with the first lightning bolt that appears, i repeated the first step with the second bolt of lightning.

The shot now looked pretty good, but it was still missing the flashes that go along with the lightning. To do this, I added the “Brightness/Contrast” effect onto the Lego layer. once I had found a good flash brightness with the “Brightness/Contrast” tool, I keyframed it and hid the Lego Layer once again and went through the shot one more time and matched up the places where the brightness increased. Here is the result:

Storm Lightning

(flour was used for the snow)

RealFlow Fountain

One of the larger shots in the trailer has a fountain with multiple different spouts spraying out water. I’ve tried creating fountains in RealFlow before, but unfortunately, I haven’t had much luck. the water always formed a mushroom at its peak, which is not what most fountains look like. I managed to find a tutorial that was demonstrating a plugin that allows multiple particle types to be emitted from one emitter. In the tutorial, I noticed that the used “Dumb” particles to help produce the fountain effect, something which I hadn’t considered. i decided to have another go at creating a realistic fountain effect.

The first thing I did was to create an “Circle Emitter” which was emitting upward, I then changed the particle type to “Dumb.” I also added in a “gravity” daemon and placed an inverted “k_volume” daemon below the scene to prevent unnecessary particles from lowering the computer’s speed. The result was a little too predictable, so I changed the V Random to 1 and the H Random to 0.1. This was much closer to what I was looking for. This seemed like it would work especially well for the smaller spouts in the fountain, however, there were also larger ones, which had more of a liquid effect at the top of their arch.

In order to achieve this effect, I created a new scene and repeated what I had previously done. This time, however, I added in a “filter” daemon as well as a “container” emitter. I set the original emitter as the source and the “container” as the target emitter in the “filter” daemon. i then set the daemon to bounded and positioned the box just below the top of the water’s arch. This caused the dumb particles to become liquid particles just before the descent. This created a look which I was very happy with.

Lego Digital Designer

One of the easiest ways to create a 3D version of a Lego model is to build it in Lego Digital Designer. However, it cannot be rendered in LDD, and therefore must be exported to a 3D file. Unfortunately, LDD does not have the option of exporting to .obj or .3ds files. A way to work around this is to use LeoCAD. Thankfully, LeoCAD is now available for Mac!

First, you need to build your model in LDD. Next, select File>Export Model. Under the export options, make sure that the file type is set to LDraw.

Open up LeoCAD, select File>Open and select your LDraw file. Finally, you can export your model as either Wavefront (.obj) or 3D Studio (.3ds). You will now have a file which you can work with in any 3D program.

X-Men Logo in LDD:

Screen Shot 2014-04-08 at 1.13.03 PM

Final Version:

X-Logo

Removing Green (or Blue) Screen in After Effects

After Effects has a few different tools for removing green screen. They are located under Effects>Keying. The tool that I use the most is “Colour Range.” Every once in a while, I use another tool called “Keylight,” however, the image almost always seems grainy due to this and so I don’t use it nearly as much. The shot I’ll be demonstrating with is the same shot as in my previous post, a shot which has Storm turning very slightly in front of a mountain range and storm clouds. Here is one of the frames that I was given:

xmen_019_03_X1_0006


The first thing I did was mask the area which did not contain green screen (left and right sides) in order to avoid keying out prominent colours. Next, I added the “Colour Range” effect on top of the layer and using the top colour picker tool, I selected the a piece of the green area. This generally removes a very large portion of the green background. To refine this area, I select the picker with the little plus, and select and remaining green spots. Finally, when almost all of the green is completely gone, I refine using the “Fuzziness” dial.

Afterwards, I remove any green reflections on the character using the “Change to Colour” tool. It’s generally easiest to just change the areas to grey, but this does not always work, so just fiddle around with the tool until you get something that isn’t very noticeable. Here is the final version of the shot before colour correction and after:

Storm Turn_3Storm Turn

Colour Correction 3: A Very Useful Plugin

A plugin that I found recently is called “Temperature,” created by Creative Impatience. I thought that the tool looked like it might be interesting, but I didn’t have any plans on using it very much. I have been extremely surprised at just how useful this tool is for colour correction. Here is an example of one of the shots from the trailer, which was greatly simplified due to this tool.

Here is the original shot:

Storm Turn_4

Before I added the effect on, the shot looked like this: Storm Turn_3


I added on the effect onto the Lego Storm layer and turned the temperature to -1. Here is the result:

Storm Turn

This usually would have taken multiple effects and still would not have ended up looking this good. I highly recommend this plugin.

Colour Correction 2: Other Tools

I’ve found that I’ve been forced to branch out a fair amount in terms of what types of colour correction tools I use.  Each shot requires different tools based on how far it ranges from the look of the original shot. In this post, I’ll use explain how I used 3 different tools to get a shot to match up to the trailer. All of the tools I use are under Effects>Colour Correction.

The shot I’ll be working with involves Wolverine and Storm walking towards a structure:

China Stairs

The shot that I was given to work with was this:

China Stairs_2

While the lighting and setup of the shot look good, the colours are completely off. The first thing I did was add the “Hue/Saturation” effect. I used this to dull down the colours. To do this, I reduced the saturation to -34:

China Stairs_3

Next, I added on the “Gamma/Pedestal/Gain” effect. I fiddled around with some of the tools until the shot had a bit more of a blueish tint. The parameters I changed were the “Red Gamma,” which I lowered (1 -> 0.6), the “Red Pedestal,” which I very slightly raised (0 -> 0.1), and the “Blue Gamma,” which I also raised very slightly (1 -> 1.1):

China Stairs_4

Finally, I added the “Photo Filter” effect. I chose a blue colour and changed the density to about 80%:

China Stairs_1

Color Correction 1: Change to Colour

Two of the most useful colour correction tools are “Change Colour” and “Change to Colour.” The main difference between these two tools is that “Change to Colour” allows you to pick the colour that you change to, whereas with “Change Colour,” you change the hue of the colour using a value.

While I don’t use it 100% of the time, I prefer the “Change to Colour” tool as it gives a bit more control in general.

One of the shots which required a large amount of colour correction was a shot which involved Magneto floating in front of a building.

Float Magneto originalFloat Magneto Original Lego

The animation I was given had colors which greatly varied from the colors in the trailer, largely due to limited Lego colour choices. For example, the green of lego trees does not match up with the green of the trees in the actual shot. There are also yellowish leaves in the shot, which would be very difficult to recreate without any colour correction.

The first step was to mask off the left tree from everything else. I duplicated the layer and made a mask around the tree. I applied a slight feather around the mask so that the surroundings blended in if there were any changes that occurred to them during the process. I then selected the “Change to Colour” effect under Effects>Colour Correction. Once this was added to the layer, I chose the colour that I wanted to alter, in this case, the green colour of the tree. Next, I changed the “Change” from “Hue” to “Hue & Saturation.” Because not all of the tree is the exact same colour, I adjusted both the “Hue” and “Softness” values until I achieved a result I was happy with.

Not everything requires masking, however, if there are more than one area in the shot that have the same colour (but need to be altered differently), masking is probably the best approach.

Here is the final result: Float Magneto fixed Lego

As you can see, I changed the colour of the building, the other tree, and the sky in the background to match closer to the original shot.

Colour Correction with After Effects and Premiere

In the previous post, I explained how to use frame blending to achieve a smoother animation. The only effect that I use more than frame blending is colour correction. Colour correction is required for almost every single shot in a trailer. One of the main reasons for this is that the number of different colours of LEGO bricks is very limited, compared to the range of colours in a film. There are an extremely large number of colour correction tools available in both Adobe Premiere and Adobe After Effects. If I have any other effects to apply to a shot, I will use After Effects, otherwise, if a shot just needs minor changes and corrections, I’ll use Premiere, where I put the shots together. I’ll focus on After Effects in this, however, some of the tools are also available in Premiere.

In the next few posts, I’ll explain the tools that I use the most.